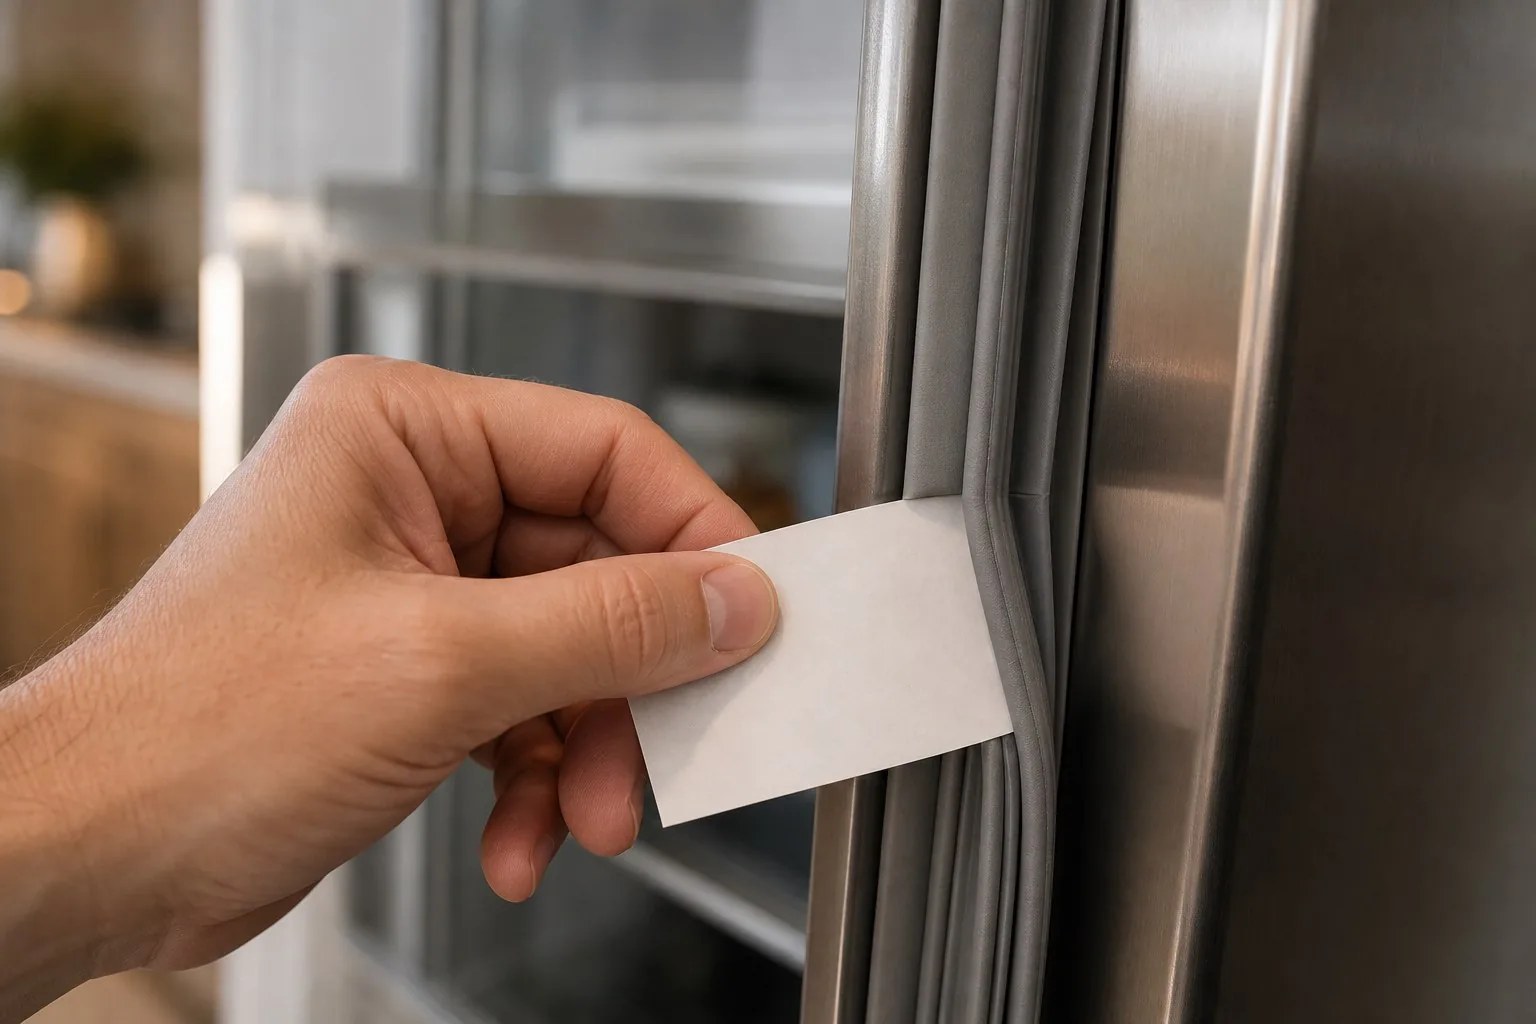
How do you do the dollar-bill test on a refrigerator seal?
Close the door on a flat dollar bill so half of it hangs outside, then pull the bill straight toward you and feel the drag. A sound Sub-Zero gasket grips the paper hard enough that it sometimes tears before it slides; a tired one lets it glide out with almost no friction. That single tug, repeated around the whole door, tells you whether warm room air is leaking past the seal — the cheapest diagnostic in the kitchen and the right first move before you suspect anything deeper, like a Sub-Zero that isn’t cooling.
The trick most people miss is where and how they test. A gasket can clamp firmly across the middle of a door and still leak at one corner, so a single pull near the handle proves nothing. Work methodically: top edge, both sides, then the bottom, stopping every four inches. The two upper corners deserve the most attention, because a Sub-Zero door arcs hardest there as it swings shut and that is where the magnetic seal loses contact first.
Reading the result: pass, fail, and the in-between
The reading is a spectrum, not a yes or no. Use this to translate what you feel into what it means.
| What you feel at that spot | What the seal is doing | What it points to |
|---|---|---|
| Bill drags hard, sometimes tears | Gasket is gripping tight, full magnetic contact | Pass — that section is sealing |
| Bill comes out with light, even resistance | Magnet is weakening or rubber slightly flattened | Borderline — retest cold and watch for condensation |
| Bill slides free at one corner only | Door sagging on a worn hinge, seal can’t seat there | Fail — likely a hinge or alignment fix |
| Bill slides free all the way around | Hardened, compressed gasket with no spring left | Fail — the seal itself is worn out |
| Light shows through with a flashlight inside | An open air gap, gasket lifted from its channel | Fail — confirmed leak path |
Run the whole test cold, with the cabinet fully at temperature. A warm gasket is softer and reads falsely loose, which is exactly the mistake that sends people chasing a seal that is actually fine.
What does a failed gasket actually look like?
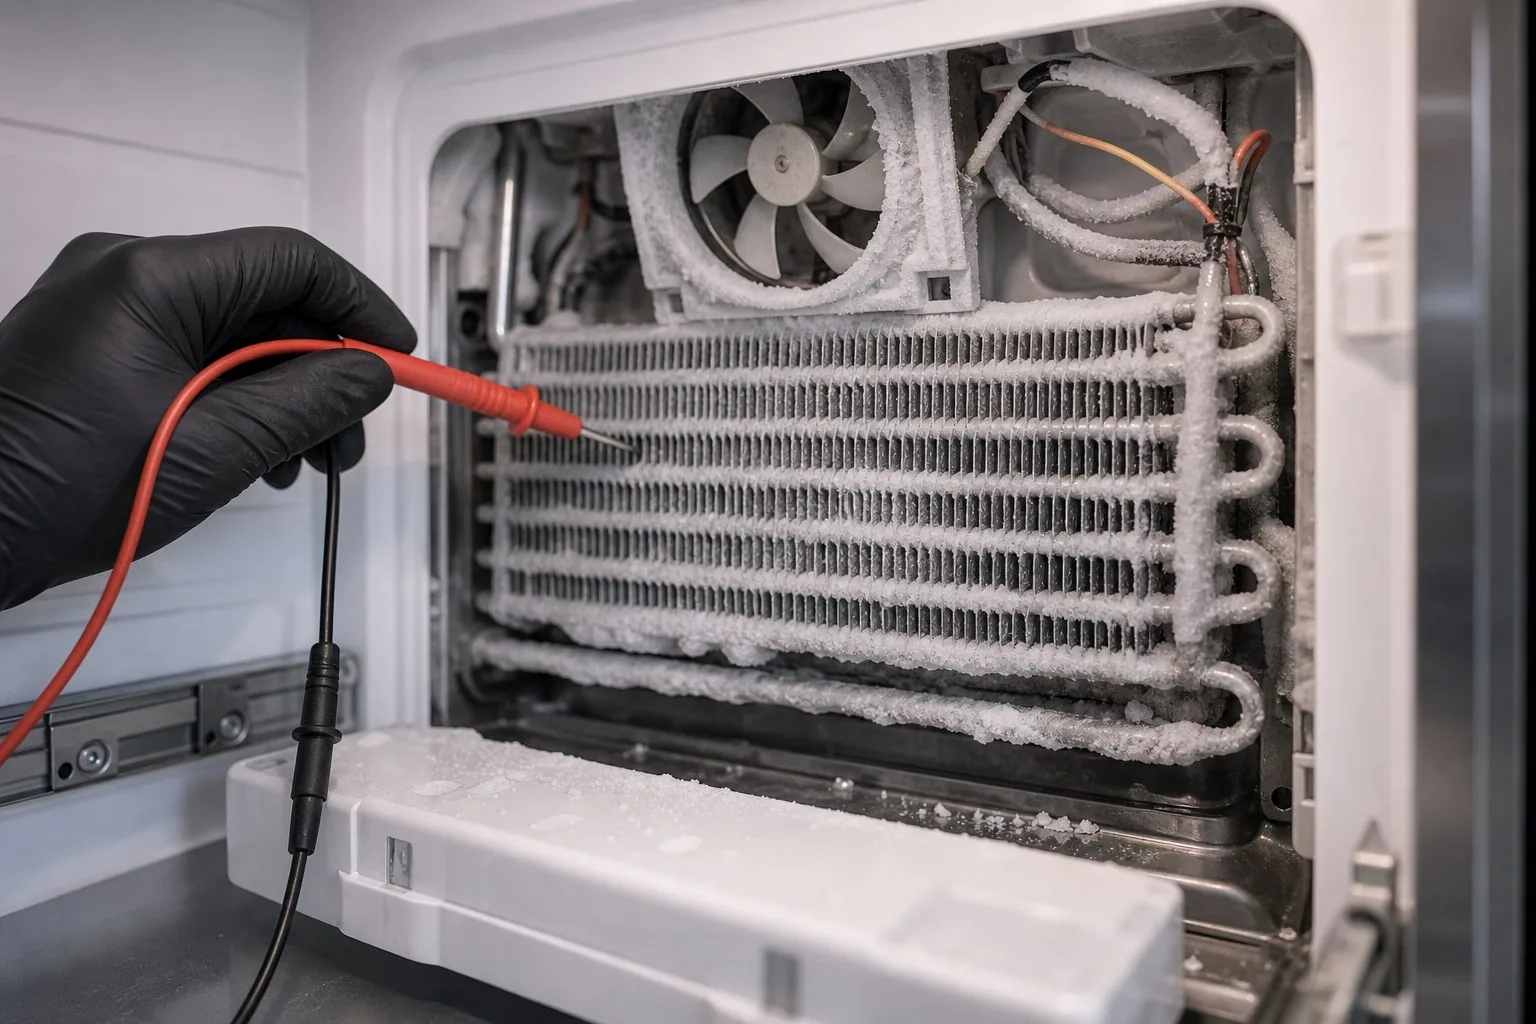
A failed seal almost always shows itself before the bill ever does. The first visible clue is moisture: beaded condensation or a damp film along the door edge even when the kitchen air is dry, because warm humid air is meeting the cold cabinet face right at the leak. Let that continue and a thin ribbon of frost or ice forms at the seal line, and the condenser runs longer fighting the constant in-bleed.
The longer-term tell is mold. Black or grey speckling on the rubber flange is not dirt you can wipe away for good — it is mildew feeding on the moisture the leak keeps delivering, and it usually means the gasket has been leaking for weeks. Alongside it you will often find rubber that has gone stiff, glassy or permanently flattened instead of springy, or a section that has twisted or pulled out of its retaining channel. None of that fixes itself, and a musty smell when you open the door confirms moisture has been getting in.
When should you replace the seal versus realign the door?
The dollar-bill test answers this directly. If the bill fails at one corner while the rest holds, the rubber is usually fine and the door has dropped a few millimeters on a worn hinge — a realignment, not a new gasket. If the bill comes out softly all the way around, the gasket has lost its spring and should be replaced with the correct model-specific seal. Visible tears, mold-eaten rubber, or a section lifted from the channel also call for replacement regardless of the pull test.
Replace sooner rather than later. A leaking seal is a slow tax: the cabinet drifts warm, the compressor runs long, and worn rubber can read like a deeper fault. Folding this two-minute check into a seasonal maintenance guide routine catches it cheaply, and the curated answers hub collects the other quick self-tests worth knowing. When a gasket does need replacing it is model-specific and magnetically loaded, so a seal seated with twists leaks worse than the worn one — the full repair picture lives on our Sub-Zero door gasket and seal page.
Quick answers
- How do I do the dollar bill test on a refrigerator seal?
- Shut the door on a flat dollar bill so half hangs out, then pull it straight toward you. If the gasket grips hard enough that the bill drags or tears, that point seals. If it glides out freely, warm air is leaking there. Check the whole perimeter, corner to corner, not just the middle.
- How do you test a fridge door gasket without a dollar?
- Any thin, stiff paper works — a printer sheet trimmed to a bill's width, a postcard, or a business card. Close the door on it and pull. You can also tuck a flashlight inside a dark kitchen, shut the door, and look for light leaking out around the gasket from outside.
- What does a failed dollar bill test mean?
- It means the magnetic gasket no longer presses tight against the cabinet at that spot, so room air bleeds in. A single weak corner usually points to a sagging door or worn hinge; weak resistance all around points to a hardened or compressed seal that has lost its spring and should be replaced.
- How do I do the Sub-Zero gasket test correctly?
- Run it cold, with the cabinet fully at temperature, because a warm gasket reads falsely soft. Use a flat bill, pull straight out rather than upward, and test every four inches. Sub-Zero doors are heavy and magnetic, so a true pass grips noticeably harder than a standard refrigerator door.
How to run the dollar-bill refrigerator seal test
- Use a flat, crisp billA limp or creased note skews the friction reading. Smooth a dollar bill flat, or use a sheet of printer paper cut to a similar width as a stand-in.
- Close the door on the billPosition half the bill inside the cabinet and half hanging out, then shut the door fully so the magnetic gasket clamps down on the paper.
- Pull it straight out and feel the dragTug the bill out at a right angle to the door. Steady resistance — enough that the bill sometimes tears — is a pass; a clean, effortless slide is a fail at that point.
- Walk it around the whole perimeterRepeat every 4 inches along the top, both sides and the bottom. Pay extra attention to the two top corners, where Sub-Zero doors lose contact first.
- Mark and judge the weak spotsFlag any spot the bill slips out. One soft corner often means a sagging door; soft all the way around means a tired gasket. Either way the seal is leaking.
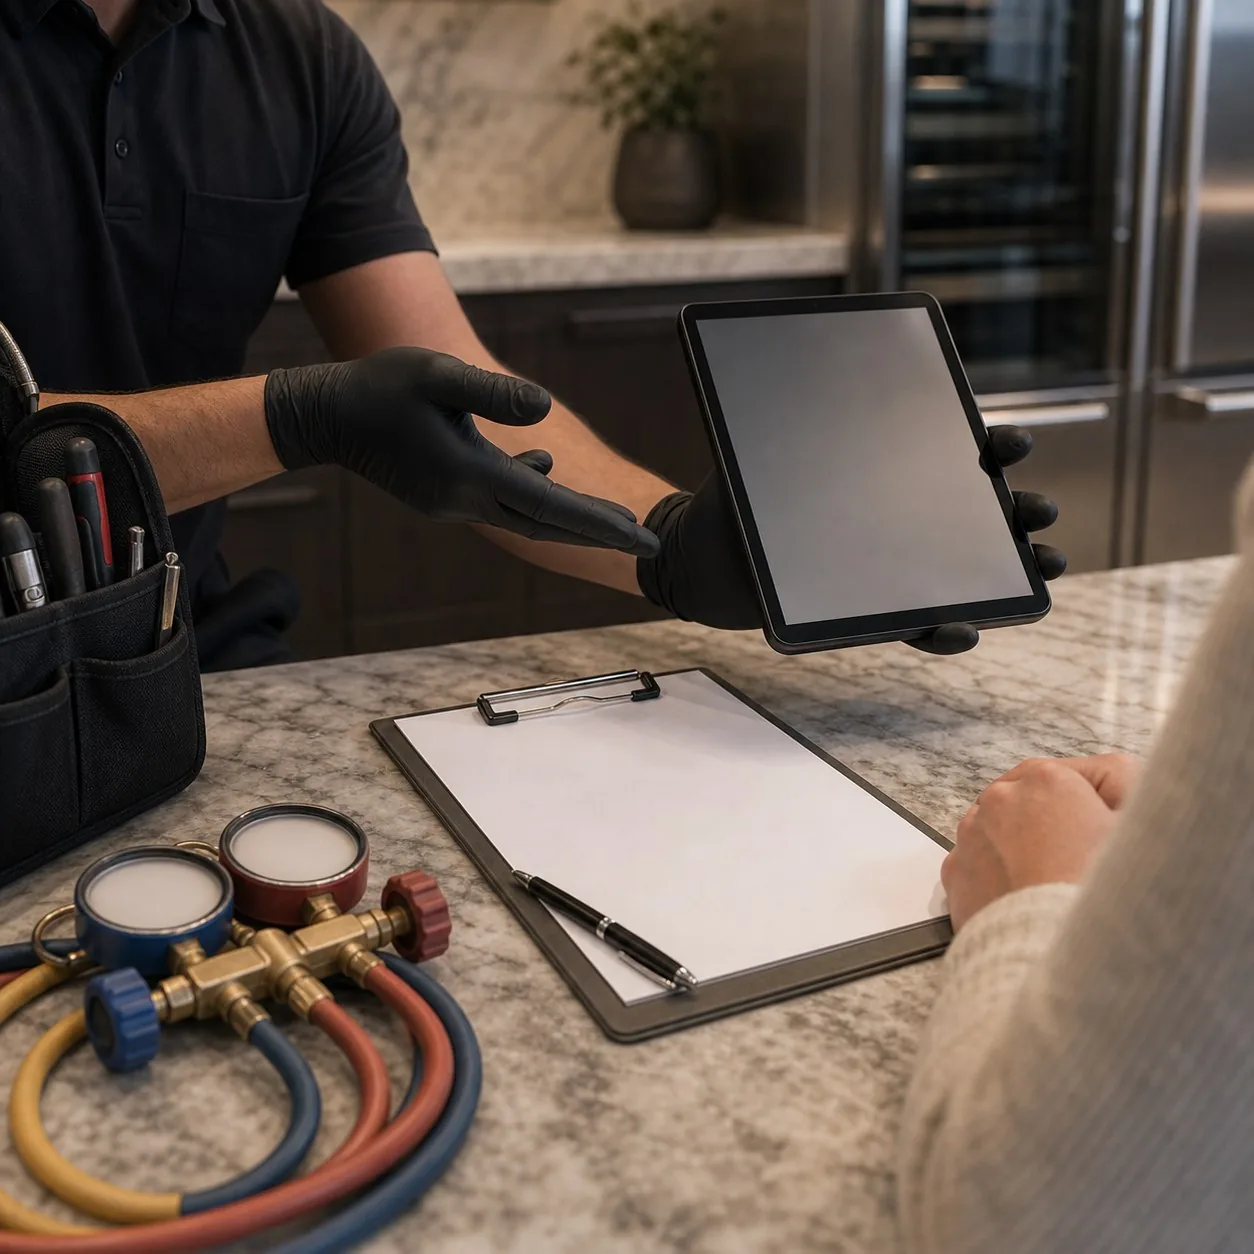
How a visit works


Signs a Sub-Zero gasket has already failed
- Beaded condensation or a damp film along the door edge, even when the kitchen is dry
- A thin ribbon of frost or ice forming right at the seal line
- Black or grey speckling on the rubber flange — mold from moisture the leak let in
- Rubber that feels stiff, glassy or permanently flattened instead of springy
- A section of gasket lifted, twisted or pulled out of its retaining channel
- A door that visibly sits crooked or that you have to press to latch fully
Frequently asked questions
How do I do the dollar bill test on a refrigerator seal?
Shut the door on a flat dollar bill so half hangs out, then pull it straight toward you. If the gasket grips hard enough that the bill drags or tears, that point seals. If it glides out freely, warm air is leaking there. Check the whole perimeter, corner to corner, not just the middle.
How do you test a fridge door gasket without a dollar?
Any thin, stiff paper works — a printer sheet trimmed to a bill's width, a postcard, or a business card. Close the door on it and pull. You can also tuck a flashlight inside a dark kitchen, shut the door, and look for light leaking out around the gasket from outside.
What does a failed dollar bill test mean?
It means the magnetic gasket no longer presses tight against the cabinet at that spot, so room air bleeds in. A single weak corner usually points to a sagging door or worn hinge; weak resistance all around points to a hardened or compressed seal that has lost its spring and should be replaced.
How do I do the Sub-Zero gasket test correctly?
Run it cold, with the cabinet fully at temperature, because a warm gasket reads falsely soft. Use a flat bill, pull straight out rather than upward, and test every four inches. Sub-Zero doors are heavy and magnetic, so a true pass grips noticeably harder than a standard refrigerator door.
What does a bad refrigerator door seal look like?
Look for hardened or shiny-flat rubber, splits at the corners, sections lifted from the channel, and black speckling that signals mold from trapped moisture. You may also see beaded condensation, a thin frost line at the edge, or a damp, musty smell near the door — all tied to a leaking gasket.
How often should I run the dollar bill test?
Once or twice a year, and after any season of heavy inland heat, is sensible across the Bay Area. A seal that passed last spring can soften by late summer when San Ramon and Tri-Valley kitchens sit at 90-100°F, so retesting before and after the hot months catches a leak early.
What clients say
4.9 · 327 reviews
I read this guide after spotting frost at the edge of our Sub-Zero. The bill slid right out at the top hinge corner but gripped everywhere else, exactly as described. The technician confirmed a sagging door, realigned the hinge, and the frost line was gone by the next morning. The test pointed him straight to it.
Did the paper version since I had no cash on me. It pulled free along the whole left side with zero resistance, and I found black speckling on the rubber when I looked closer. That was mold from a slow leak. He replaced the hardened gasket with the model-specific seal and the musty smell finally stopped.
Useful walkthrough. I ran the test warm the first time and got a soft reading everywhere, which panicked me. Re-running it cold like the guide says, only one corner actually failed. The visit confirmed the rest was fine and only that lower section needed reseating. Glad I retested before assuming the worst.